Blouse "Clove"
This sewing pattern is optimized for woven fabrics without stretch.
Cut the pattern pieces as follows:
| A | Back | Cut one on fold |
|---|---|---|
| B | Front | Cut two (mirrored) |
| C | Back yoke | Cut two on fold |
| D | Sleeve | Cut two (mirrored) |
| E | Sleeve | Cut two (mirrored) |
| F | Collar | Cut two on fold |
| G | Front Neckline facing | Cut two (mirrored) |
| H | Wrist cuff | Cut two (mirrored) |
| I | Placket | Cut two (mirrored) |
I Material
Clove is a pattern for thin blouse fabrics without stretch, e.g. cotton, viscose or blended fabrics.
You will also need a thin, iron-on interlining, e.g. Vliseline H 180 or Vlies Stretch from Stoff & Stil. The interlining should not add any volume, but merely provide a little more grip and stability to the collar, cuffs and front.
An iron with a suitable pad should be within easy reach. Of course, you will also need thread, a sewing machine, buttons, scissors and a seam ripper.
II Cutting
In some places, such as the armholes and the armhole (upper part of the sleeve), there are 1 cm long lines on the outer edge of the pattern. Mark these lines e.g. with a small pinch in the seam allowance. Also mark the ends of the bust dart on the side. The bust point and the points of the waist darts are marked with small circles. Pierce these circles with an awl or darning needle to create a hole. You can mark the bust point through this hole, for example with a pin or a washable fabric marker. Don't forget to transfer these markings to the pattern piece at the bottom.
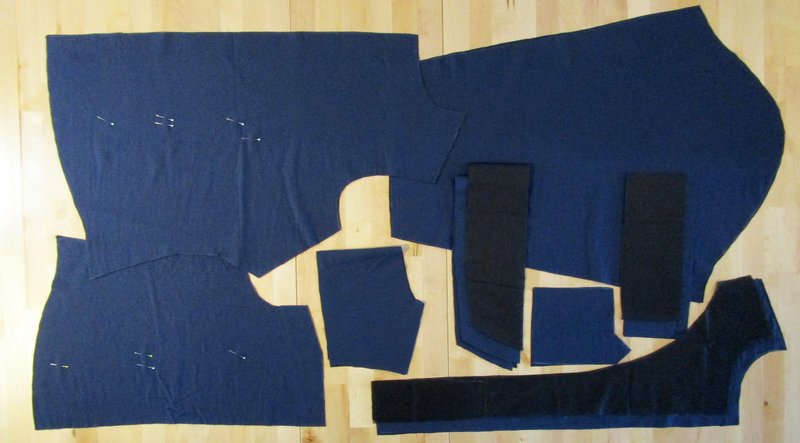
Then press the interfacing onto the wrong side of one collar piece, the front facing and, if the long sleeve is being sewn, onto the cuffs. The exact ironing instructions are provided by the manufacturer of the respective interfacing. Incidentally, most interfacings do not like direct contact with the iron, so always place a cloth on the interfacing.
Finnishing
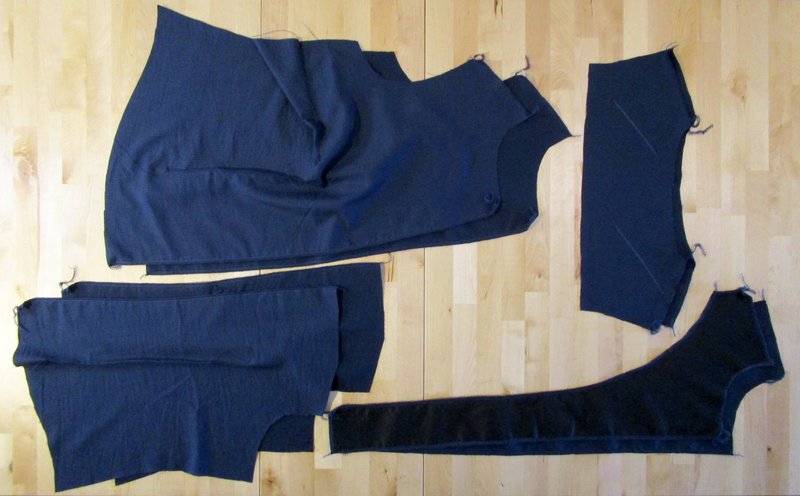
To prepare, neaten the following edges. This can be done either with an overlocker or with the zigzag stitch of a household sewing machine. If you are using an overlock, only cut off a minimal amount of fabric, the seam allowance should remain as wide as before.
- The shoulder edges of the yoke and the front facing
- Both long edges of the front facing
- The inner edges of the front and back
III Sewing
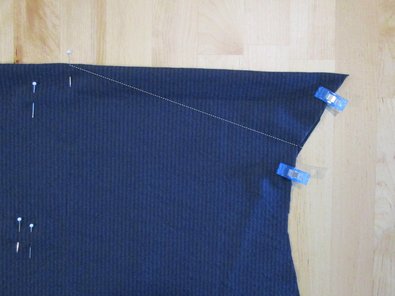
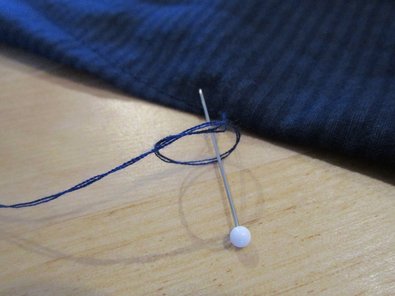
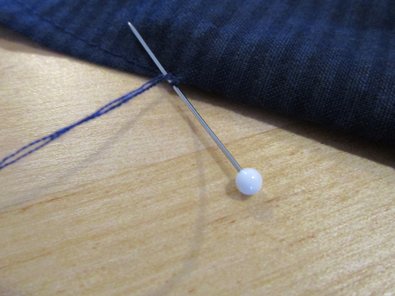
First a few preparatory seams: Fold the bust darts together so that the right side of the fabric is on the inside. To do this, place the two notches on the side of the dart on top of each other. You can draw a guide line from these notches to the bust point (e.g. with tailor's chalk). Then sew this line from the outside to the inside using a normal straight stitch. The seam is not locked at the bust point. Instead, sew a few stitches beyond the bust point and then knot the yarn. Use a needle to push the knot very close to the fabric.
Depending on the ratio of waist to hip measurement, one dart is drawn in the front and up to two darts in each back section. These darts are all sewn in the same way. Fold the fabric with the right side together along the centre of the dart. Then sew a triangle from the top dart point to the centre and to the bottom. Both the beginning and end of the seam are secured with a knot, as with the bust dart.
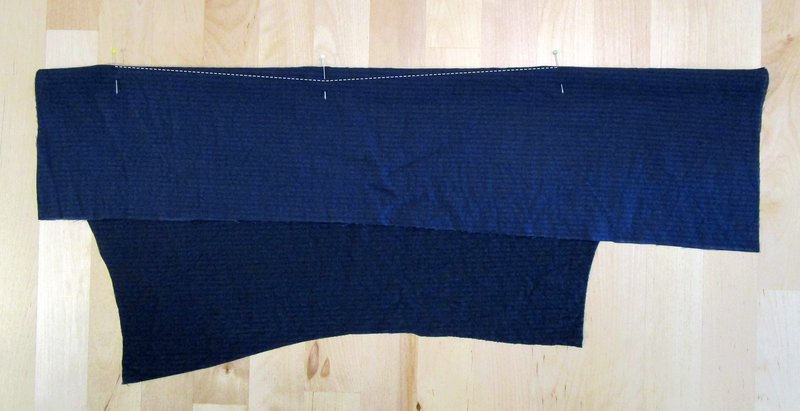
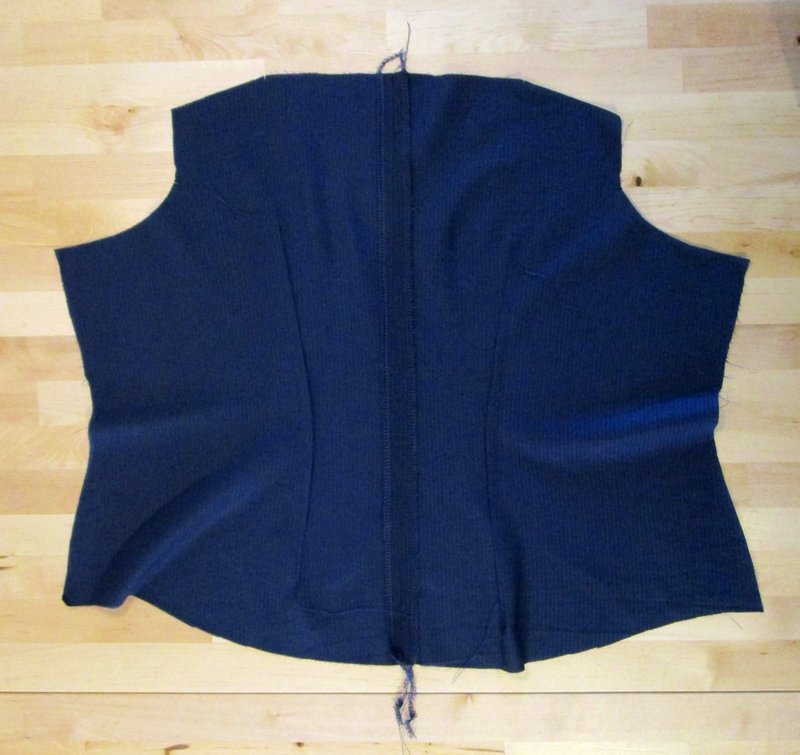
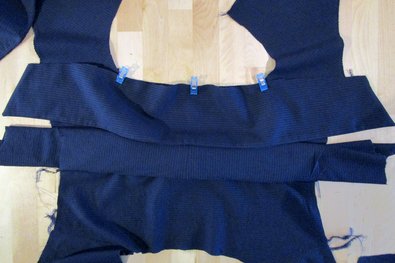
The two yoke pieces are now pinned to the top edge of the back piece, sewn and serged. The wrong sides of the yoke should be facing each other, with the back piece in between, like a sandwich. There are markings in both the yoke and the back, align them with each other.
When the yoke is folded upwards after sewing, the seam allowance is completely enclosed.
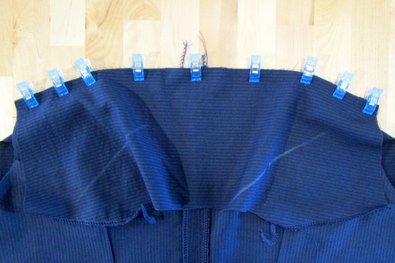
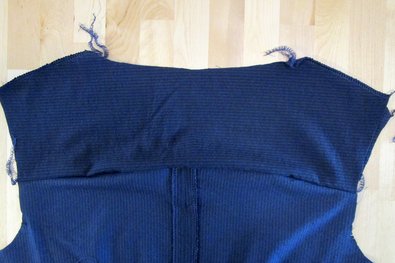
The front facing is now sewn to the inside yoke, right sides together. Sew the two front pieces to the back yoke. The yokes remain separate.
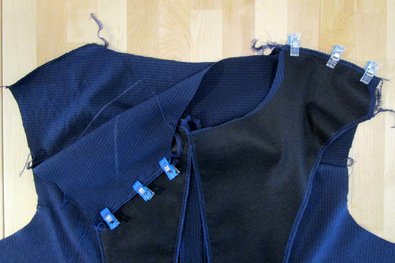
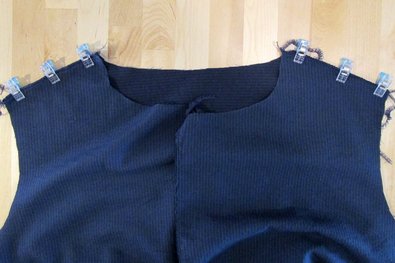
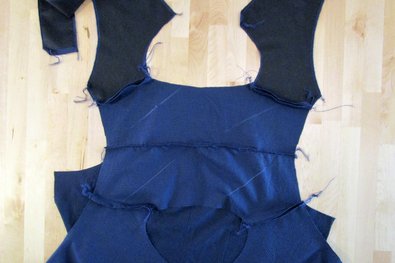
Sew the two collar pieces together, right sides facing, and cut back the seam allowance at the corners.
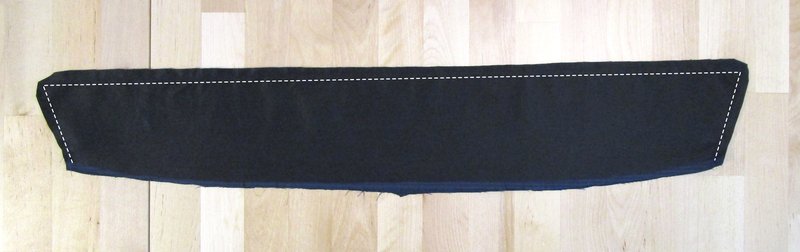
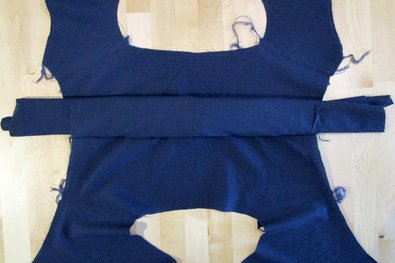
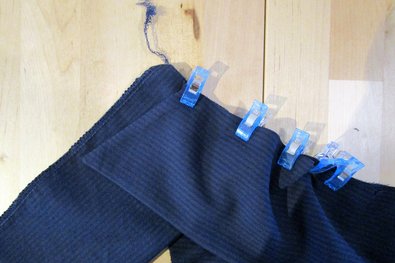
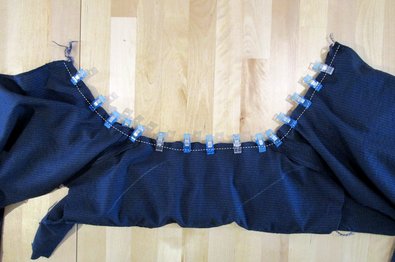
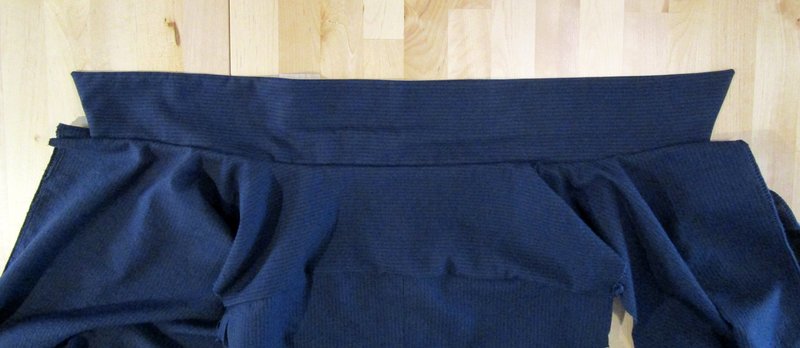
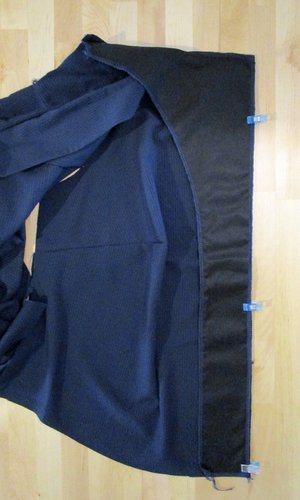
Turn the work over and roll up the back piece like a burrito. The two yokes can now be placed together around the back. Place the collar in between. This means that it is first pinned to one of the two yokes, then the second is folded over it, pinned and sewn.
The two markings on the collar meet the shoulder seams. Make sure that the seam allowances of the shoulder seams are folded apart nicely.
The end of the collar matches the markings on the front and facing.
Tip: Due to the inward curve at the neckline, it is easy for the collar to appear too long for the neckline. You can cut a little seam allowance at the neckline to make it easier to adjust the fabric.
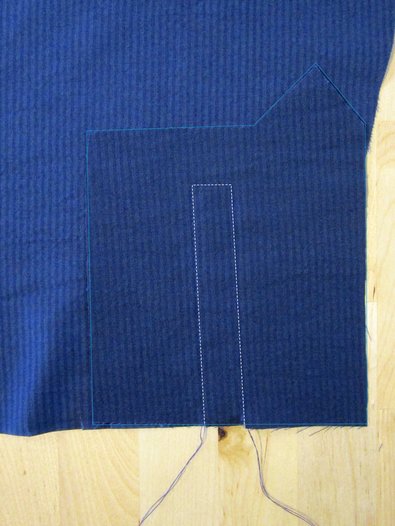
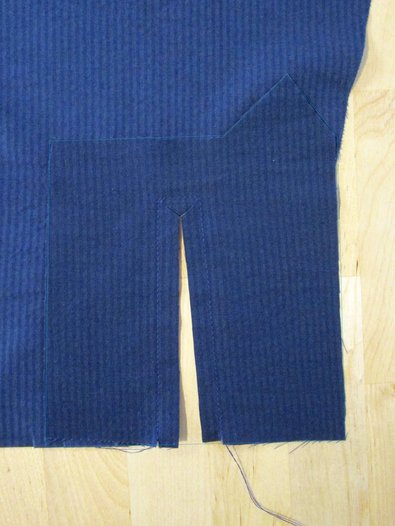
If you are sewing long sleeves, the sleeve trims are now sewn. The right side of the facing is placed on the wrong side of the sleeve and aligned with the outermost markings. The tip of the facing lies on the outer edge of the sleeve. Sew a 2 cm wide rectangle according to the markings and cut in like a Y. Cut as close to the seam as possible without damaging it.
Then turn to the right side and press well. The seam allowance will no longer be visible.
Fold the bottom side of the facing (the one without the point) to the centre and back again. Fold the seam allowances inwards. Sew close to the seam allowance.
Then fold the other side of the facing to the centre and back again. Fold the seam allowance inwards again. Fold under the open edges at the tip, press and pin in place.
Before sewing the facing in place, put the lower part to one side, as this should not be sewn in. Only when we have almost reached the upper edge of the opening is the lower part folded back and the rest sewn in.
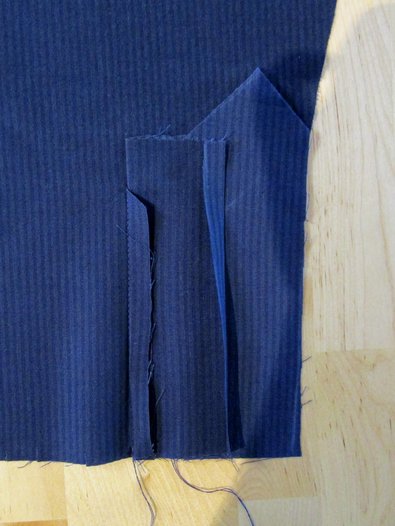
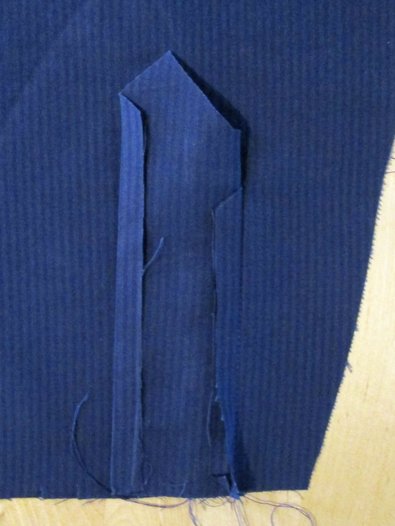
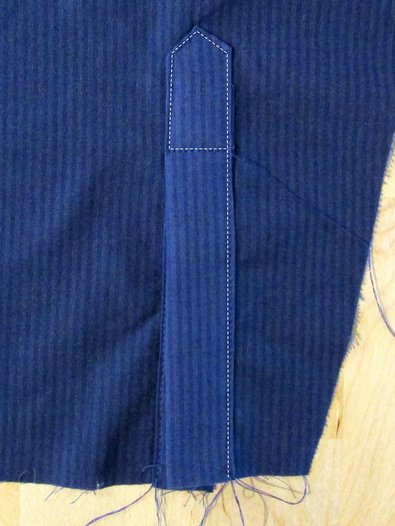
The sleeves are then inserted. Note that the sleeves are not symmetrical, the back part is slightly wider, this is the part with the double nick in the seam allowance. Of course, this also belongs on the back.
As always: right side on right side. Position the nick at the top of the sleeve on the shoulder seam. Then bring the four corners and then the notches together. The double nick is joined to the double nick, the single nick to the single nick.
Distribute the remaining fabric evenly and pin everything in place. The sleeve is slightly wider than the armhole, which is correct. Simply divide the width evenly.
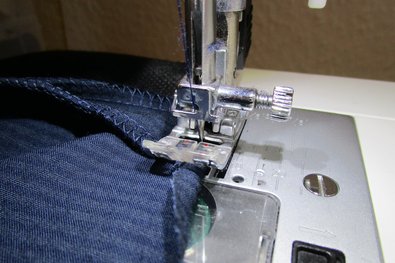
Use an elasticated stitch (overlock or zigzag stitch) for sewing. The sleeve lies at the bottom of the stitch plate. Sew slowly and keep smoothing out the pleats. Even if it is tempting, try not to stretch the fabric too much. You will see that it works wonderfully.
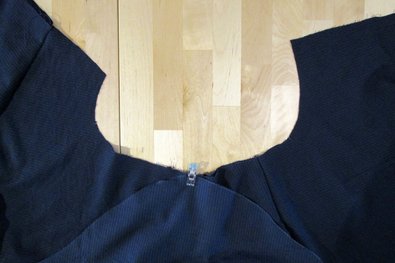
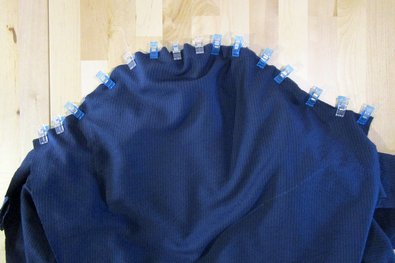
Now finnish the four long sides, in each case from the hem of the sleeve to the hem of the blouse.
Then sew the sides together, right sides facing.
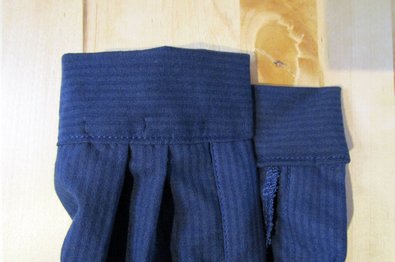
Fold over the seam allowance on the short sleeve, then fold over another 2 cm and topstitch the hem.
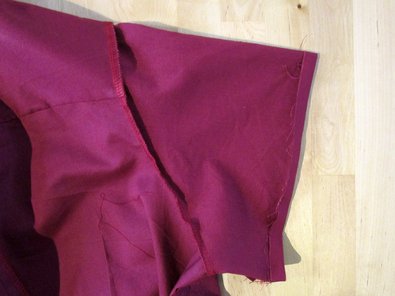
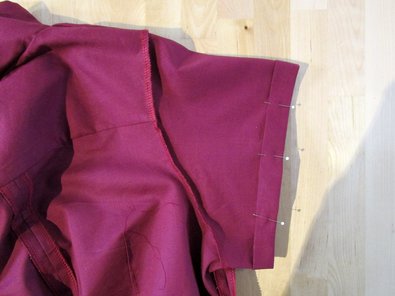
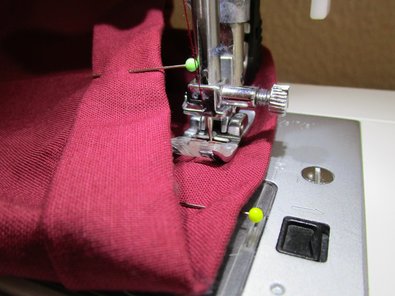
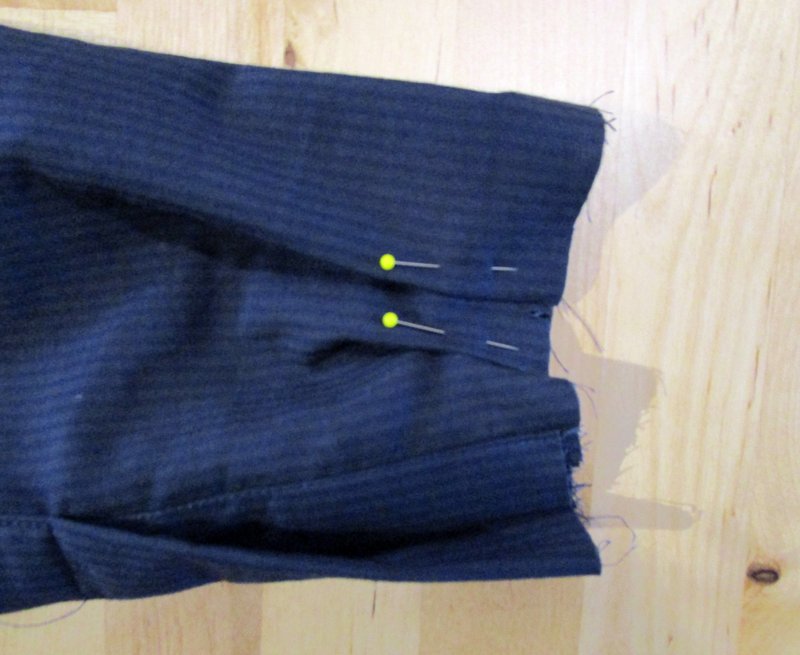
On the long sleeve, the two small pleats are now placed together and pinned. To do this, place two markings together and then fold to one side.
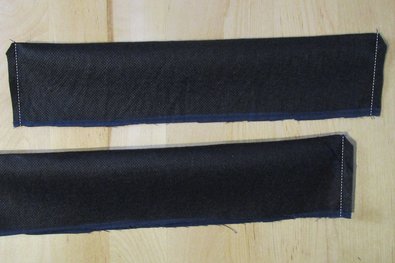
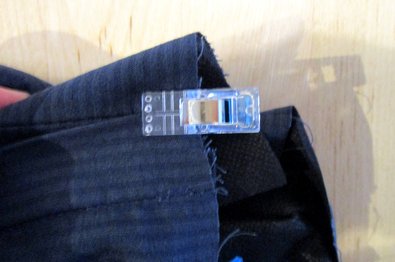
Sew the cuffs together, right sides facing, at the short edges. Trim the seam allowance and cut a triangular incision at the folded edge.
Then place one cuff on the right side of each sleeve and align the edges of the facing with the seam edge of the cuff and pin in place. Sew from the inside of the cuff.
Tip: If you pin at right angles to the edge of the fabric, you can usually sew over the pins without any problems. However, please sew slowly and do not do this with an overlock, as this would damage the knife.
Then turn the cuff inside out and fold in the seam allowance. The seam allowance should minimally cover the seam. Pin everything in place and topstitch from the right side just along the edge.
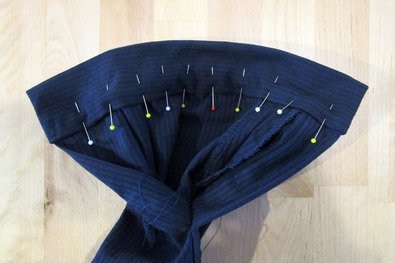
The hem is sewn in three steps.
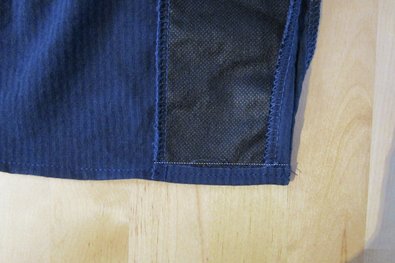
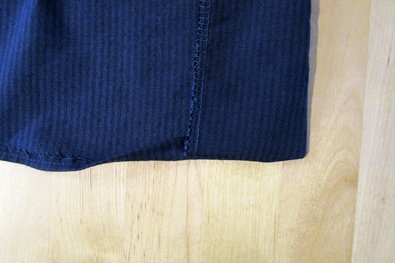
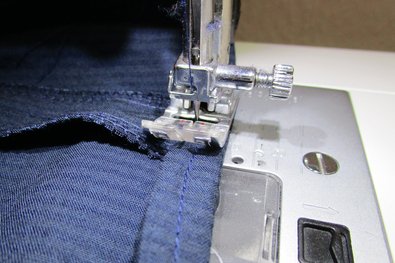
Firstly, the hem is turned inwards by approx. 7mm and sewn in place. With the rounded edges, this simply holds better than simply ironing.
Then the front facing is folded inwards and the edge of the facing is sewn to the front piece, right sides together, with a seam allowance of approx. 7mm. The facing is then turned and ironed.
The hem is then turned in again approx. 7mm and sewn in place. Iron the hem thoroughly.
All that's missing are the buttons.
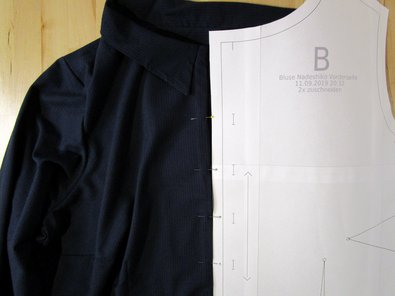
Mark the position of the buttonholes according to the template on one of the front pieces. On women's blouses, the buttonholes are usually on the right side. But you can of course do it differently.
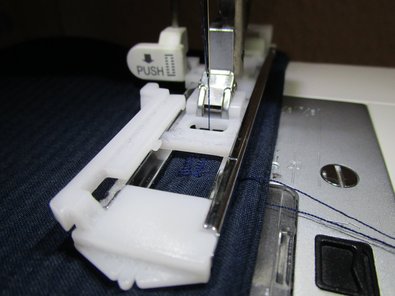
Even inexpensive sewing machines usually have a buttonhole stitch and usually come with a corresponding presser foot. The instruction manual for your machine will tell you the best way to do this with your model.
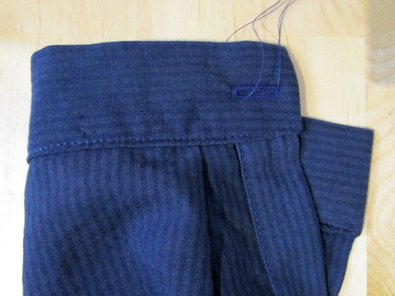
The buttonholes in the centre front are positioned vertically. Place a buttonhole in the centre of the cuff and perpendicular to the open edge.
After sewing, the buttonholes are best cut open with a seam ripper. To prevent the seam ripper from accidentally slipping too far, you can place a pin at the end of the buttonhole.