Hoodie "Dandelion"
This sewing pattern is optimized for french terry or fleece
Cut the pattern pieces as follows:
| A | Back | Cut one on fold |
|---|---|---|
| B | Front | Cut one on fold |
| C | Sleeve | Cut two (mirrored) |
| D | Hood | Cut two (mirrored) |
| E | Wrist cuff | Cut two (mirrored) |
| F | Hip cuff front | Cut one on fold |
| G | Hip cuff back | Cut one on fold |
| H | Cut one on fold |
III Sewing
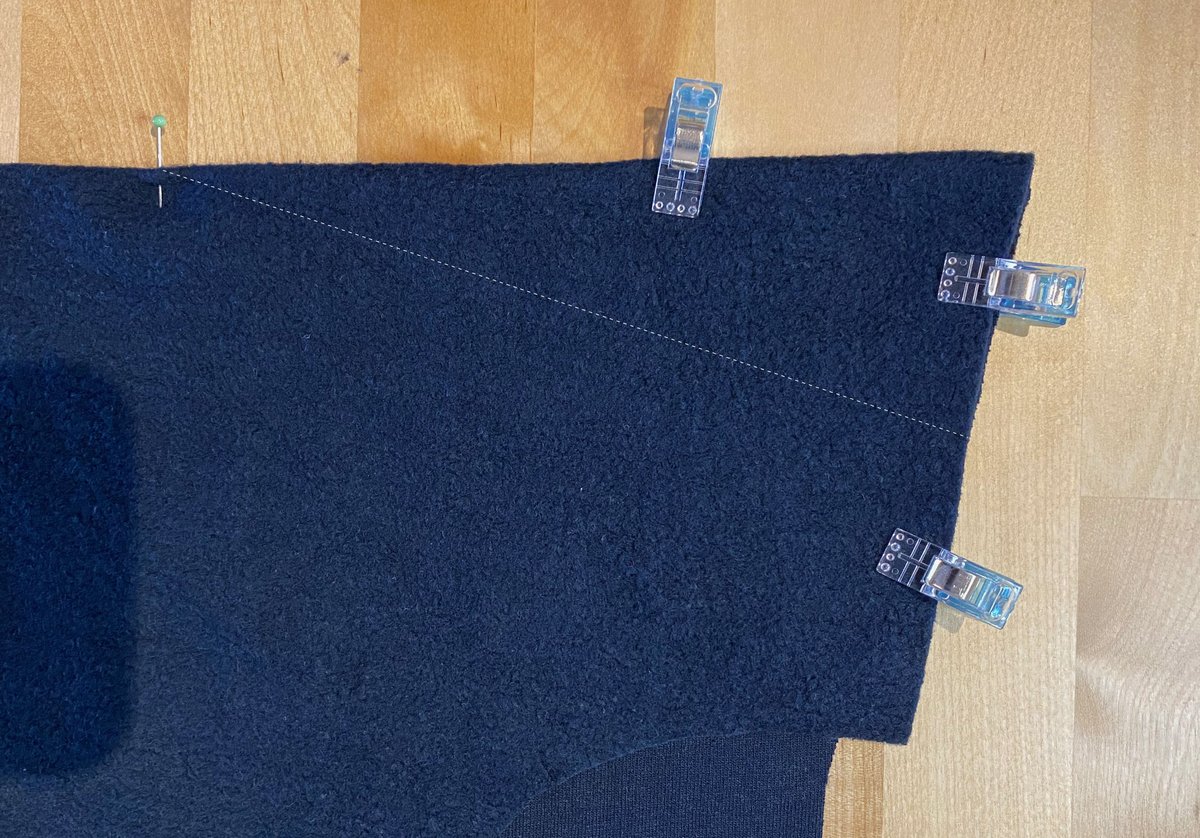
If you are sewing the version with bust darts, these come first. Otherwise, simply skip this step.
Fold the bust darts together so that the right side of the fabric is on the inside. To do this, place the two notches on the side of the dart on top of each other. You can draw a guide line from these notches to the bust point (e.g. with tailor's chalk). Then sew this line from the outside to the inside using a normal straight stitch. The seam is not locked at the bust point. Instead, sew a few stitches beyond the bust point and then knot the yarn. Use a needle to push the knot very close to the fabric. Then press the bust darts down.
Would you like to see this step in a video? Scan this QR Code or click on the button below to jump right to this point in the complementary video!
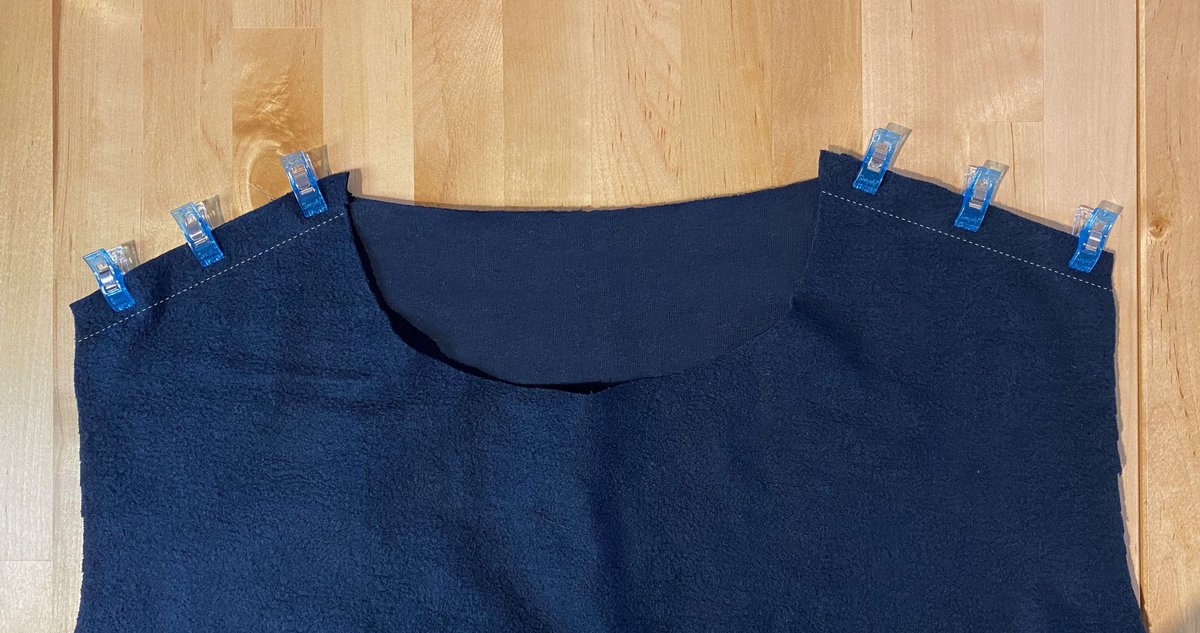
Now prepare the hood. Firstly, the two parts are sewn together at the top and the back edge. This seam is then topstitched a few millimetres away from the edge.
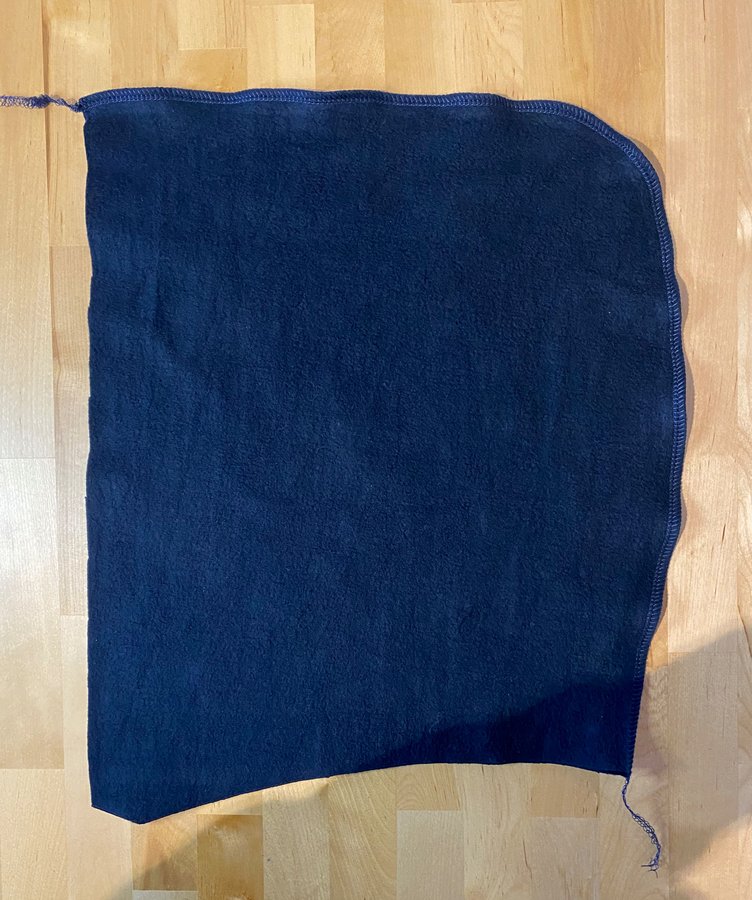
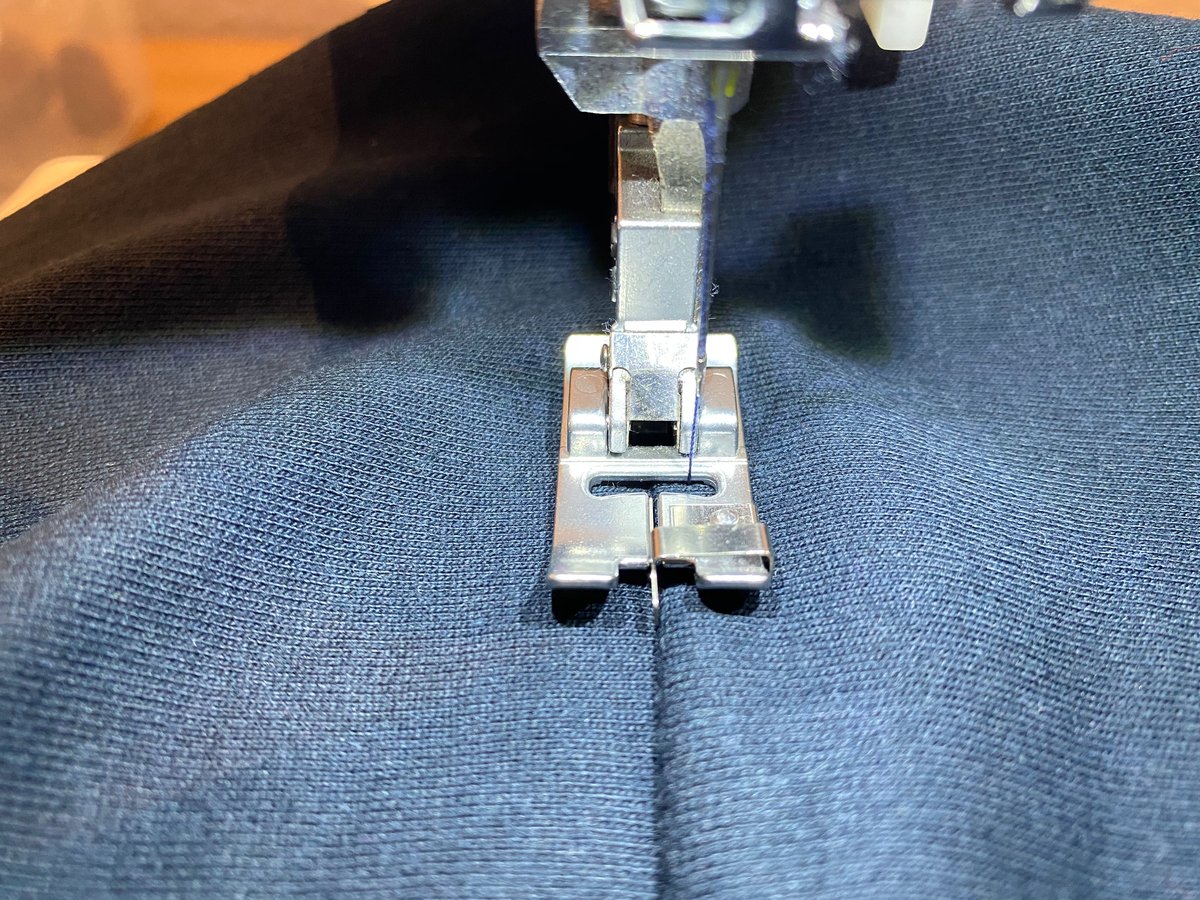
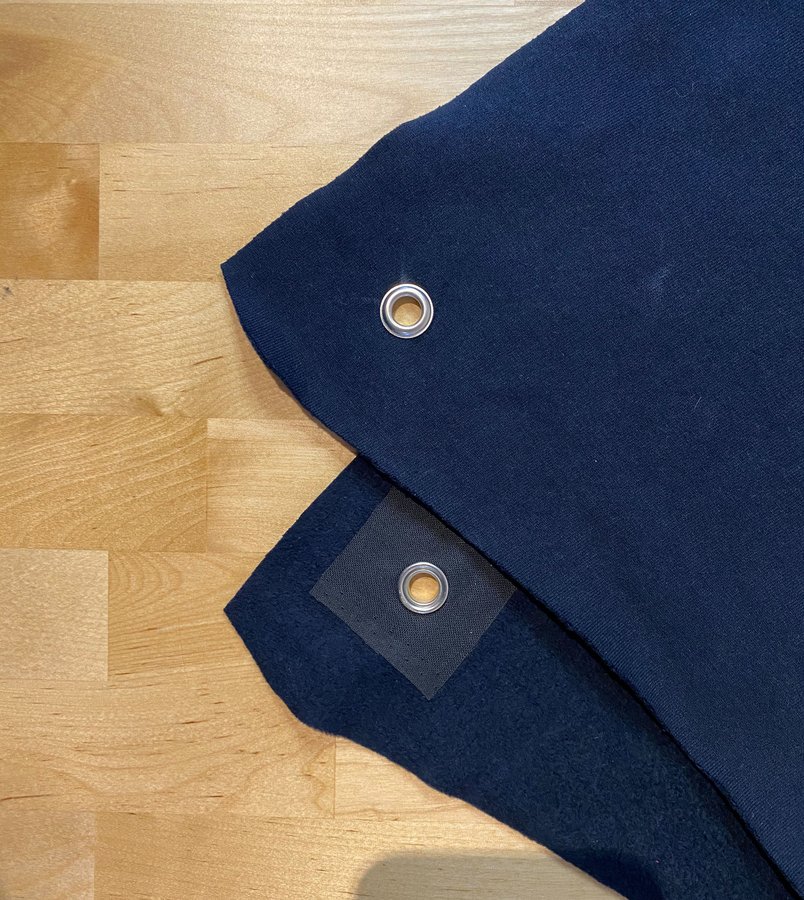
Transfer the markings for the eyelets onto the hood and iron a small piece of interfacing onto the back of each one. Make sure that the interfacing is not too large and will later be covered by the folded edge of the hood.
Then attach the eyelets. You can find out exactly how to do this in the instructions for the eyelets.
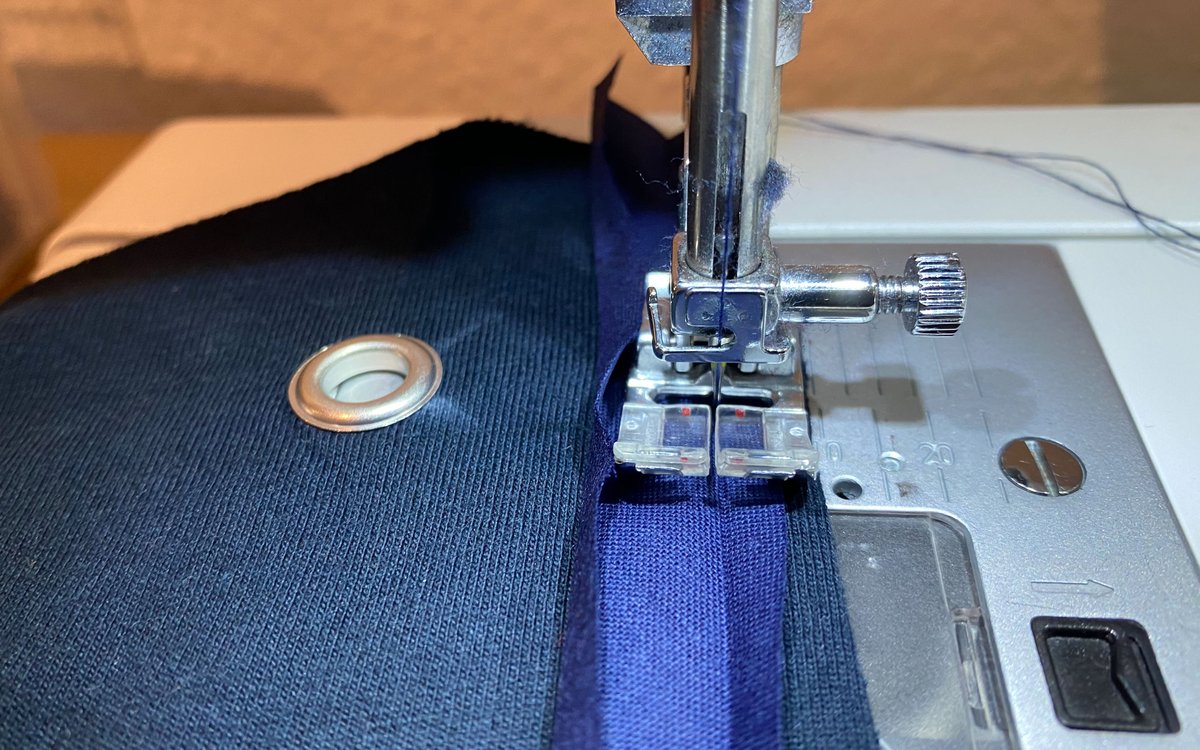
Unfold the bias tape and sew it 3-4 millimetres next to the front edge of the hood on the right side of the fabric. This is how the edge will be finished later.
Thread the cord through the two eyelets and fold the front edge of the hood 3 cm around them. The bias tape is then sewn close to the edge.
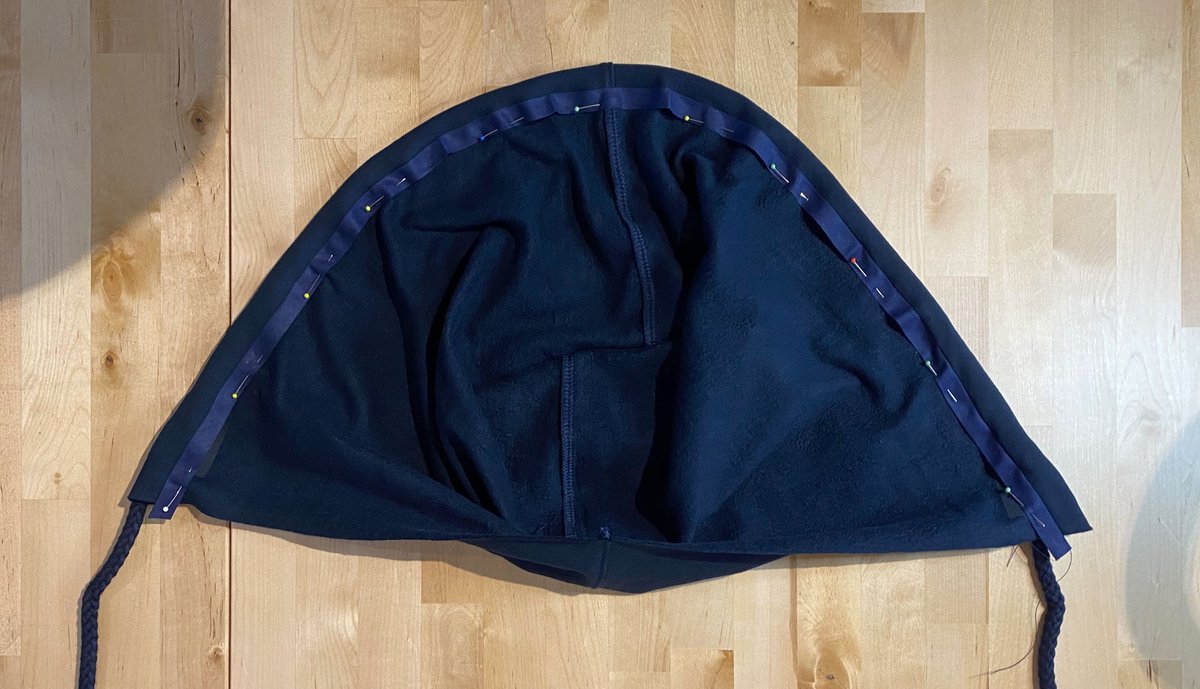
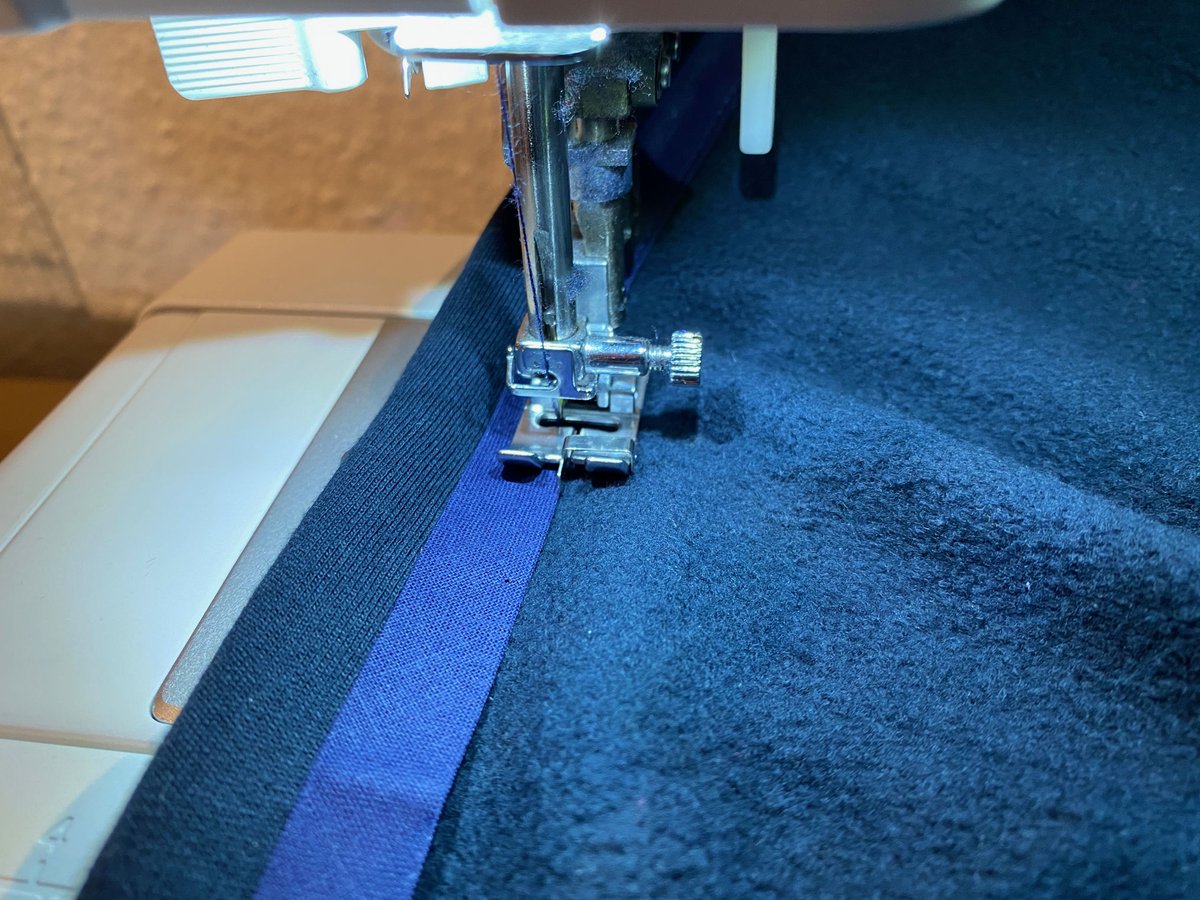
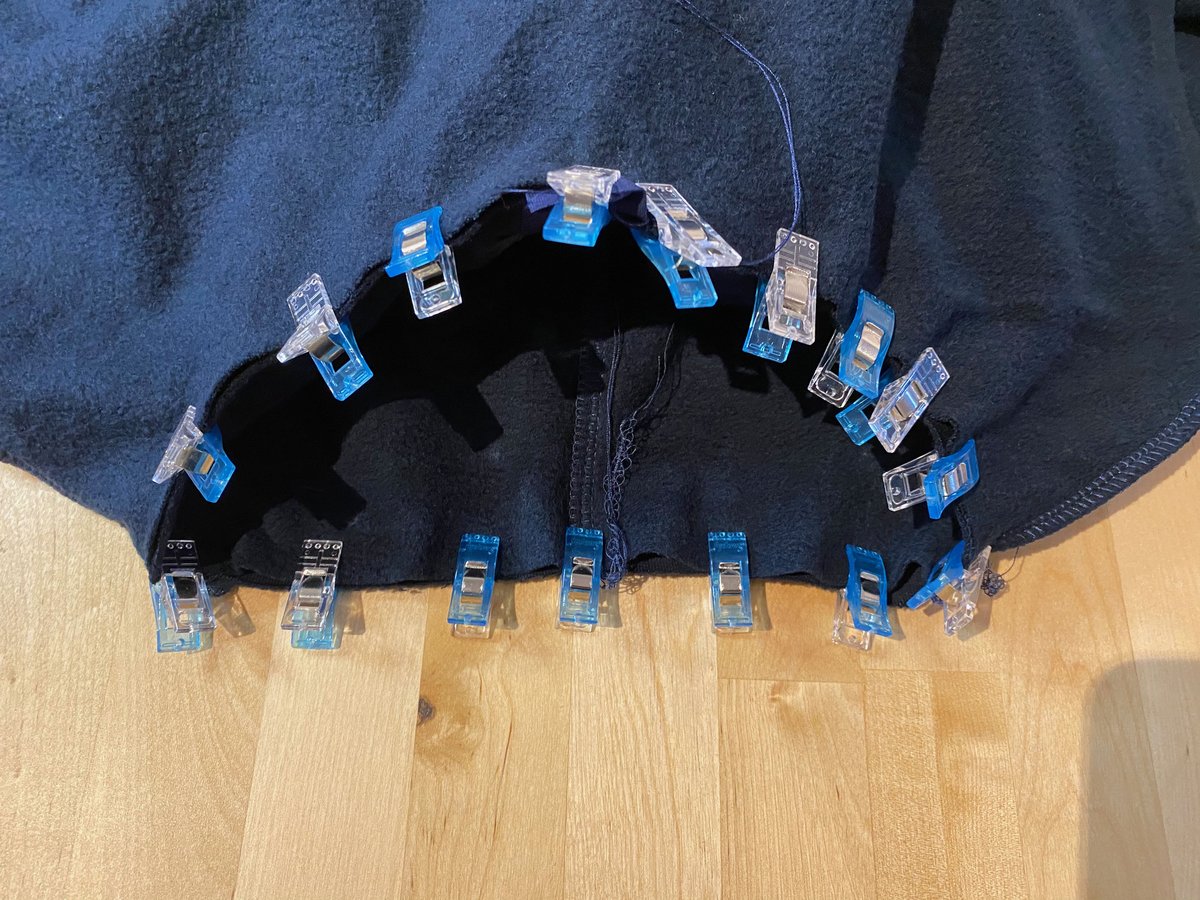
When inserting the hood, the two snaps in the lower edge meet the shoulder seams. Overlap the front of the two hood pieces by two cm.
Sew the hood in place with the toplock or a zigzag stitch all the way round.
Would you like to see this step in a video? Scan this QR Code or click on the button below to jump right to this point in the complementary video!
Fold the two long slanted edges of the pocket over and topstitch them 2 cm from the edge using a twin needle or zigzag stitch. Then cut back the seam allowance.
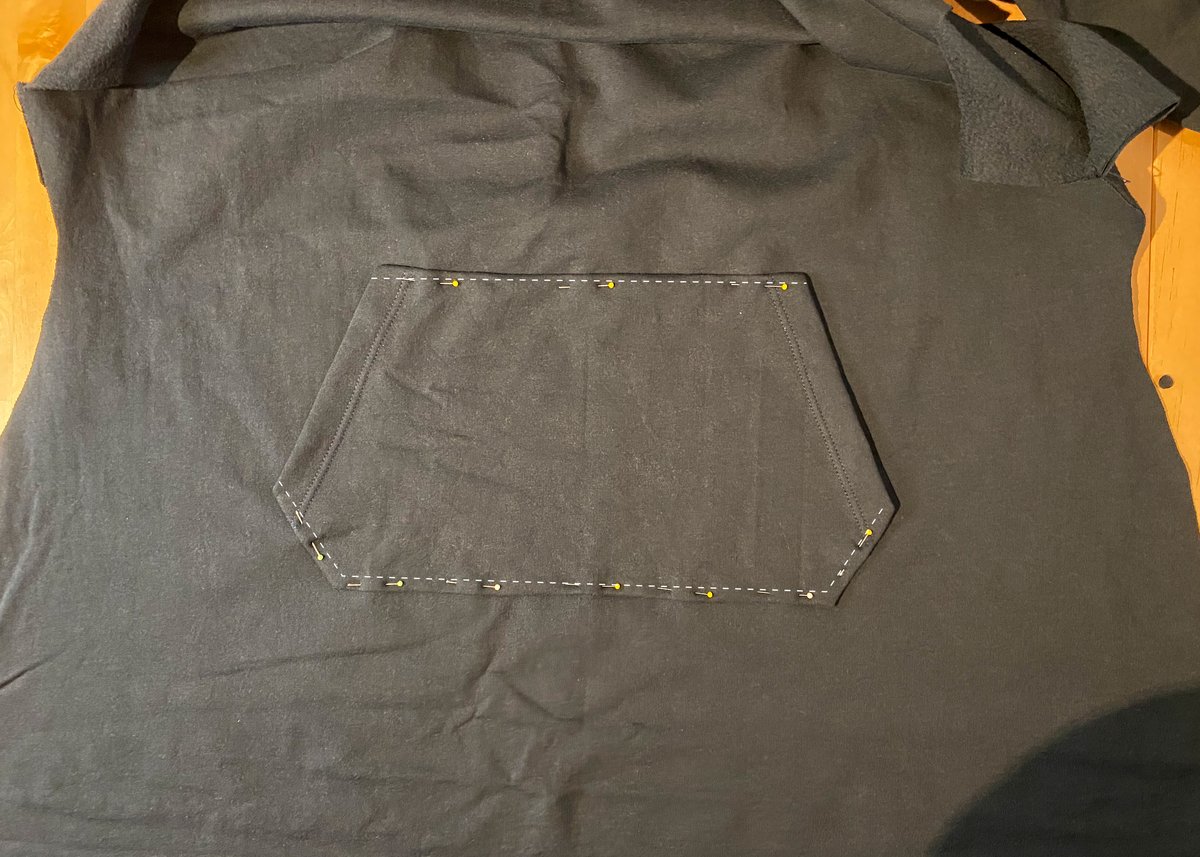
Place the pocket according to the markings. Fold the seam allowance inwards and sew the pocket in place at the top and bottom.
TIP: For the short version, the pocket ends with the bottom edge of the top. In this case, do not fold the bottom edge over, but just topstitch the two short slanted edges. When sewing on the waistband, the bottom edge of the pocket is then secured and serged.
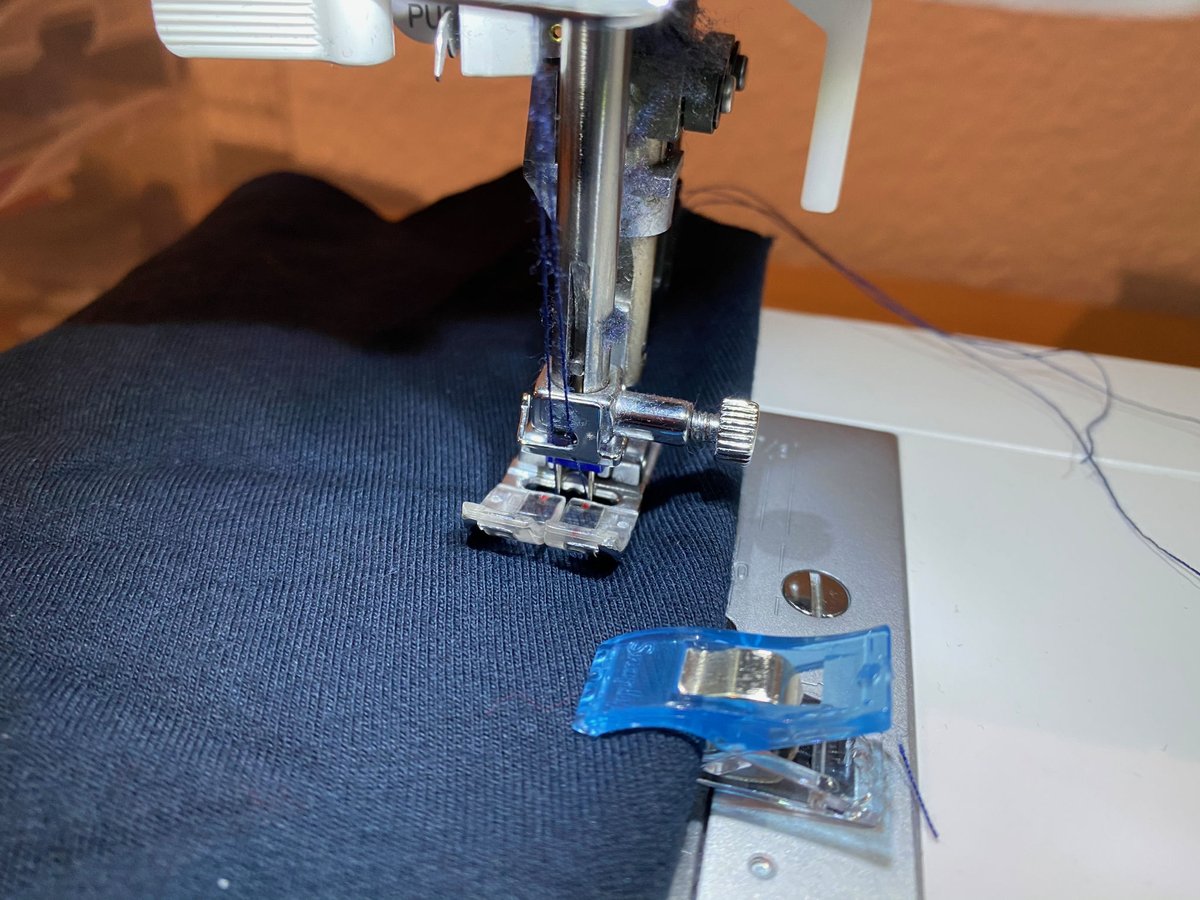
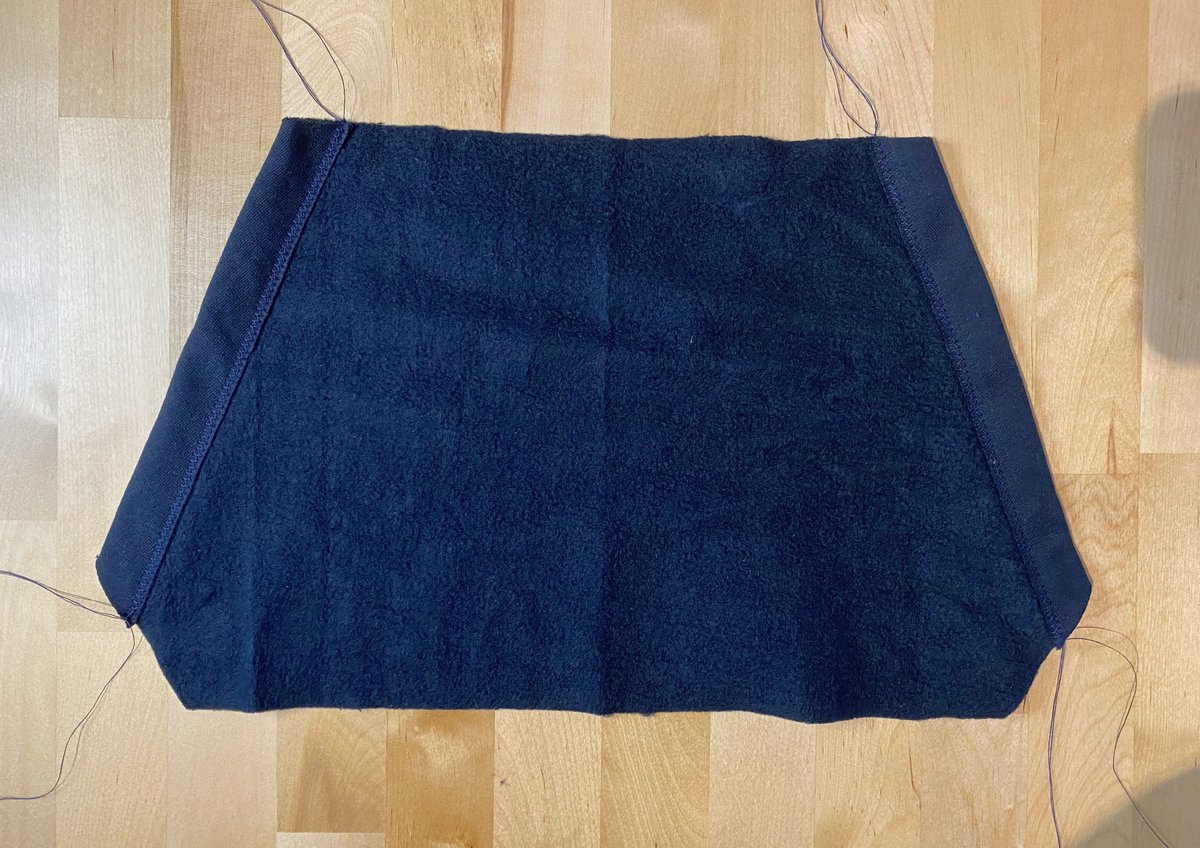
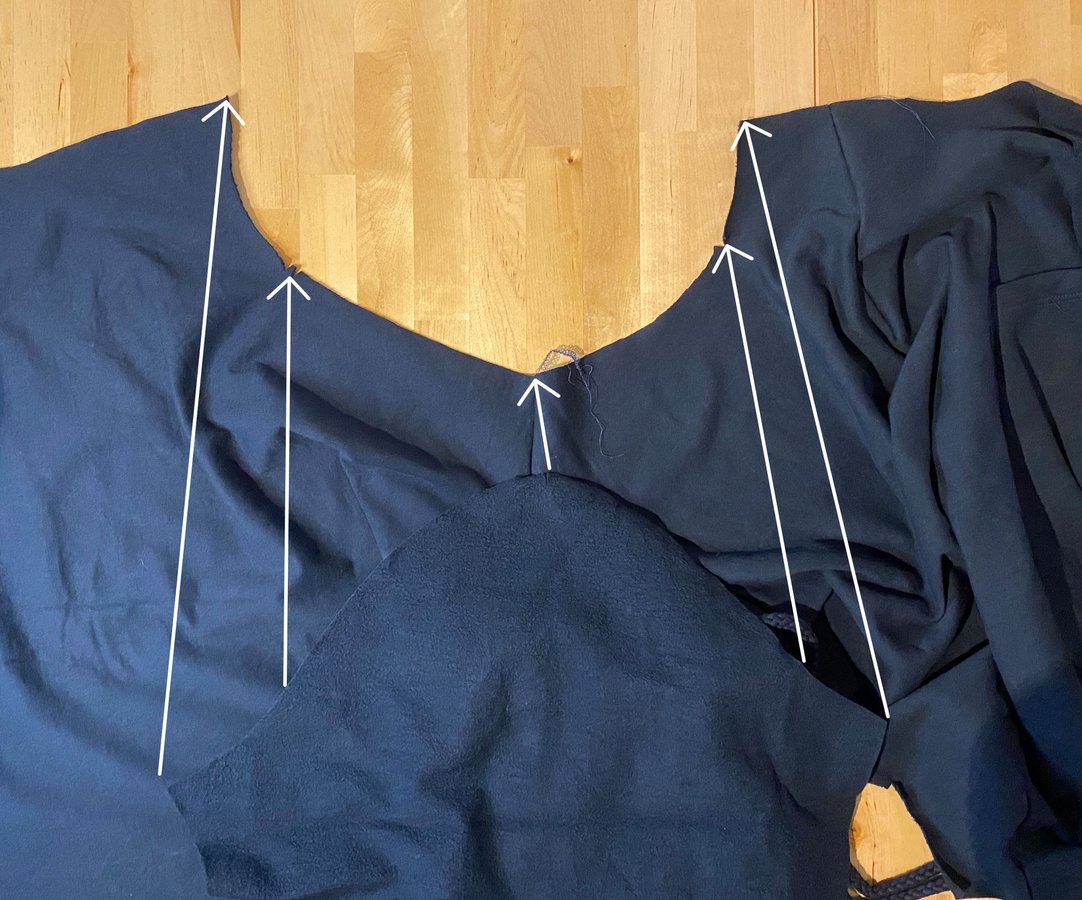
The sleeves are then inserted. Note that the sleeves are not symmetrical, the back part is slightly wider, this is the part with the double nick in the seam allowance. Of course, this also belongs on the back.
As always: right side on right side. Position the nick at the top of the sleeve on the shoulder seam. Then bring the four corners and then the notches together. The double nick is joined to the double nick, the single nick to the single nick.
Distribute the remaining fabric evenly and pin everything in place. The sleeve is slightly wider than the armhole, which is correct. Simply divide the width evenly.
Use an elasticated stitch (overlock or zigzag stitch) for sewing. The sleeve lies at the bottom of the stitch plate. Sew slowly and keep smoothing out the pleats. Even if it is tempting, try not to stretch the fabric too much. You will see that it works wonderfully.
Would you like to see this step in a video? Scan this QR Code or click on the button below to jump right to this point in the complementary video!
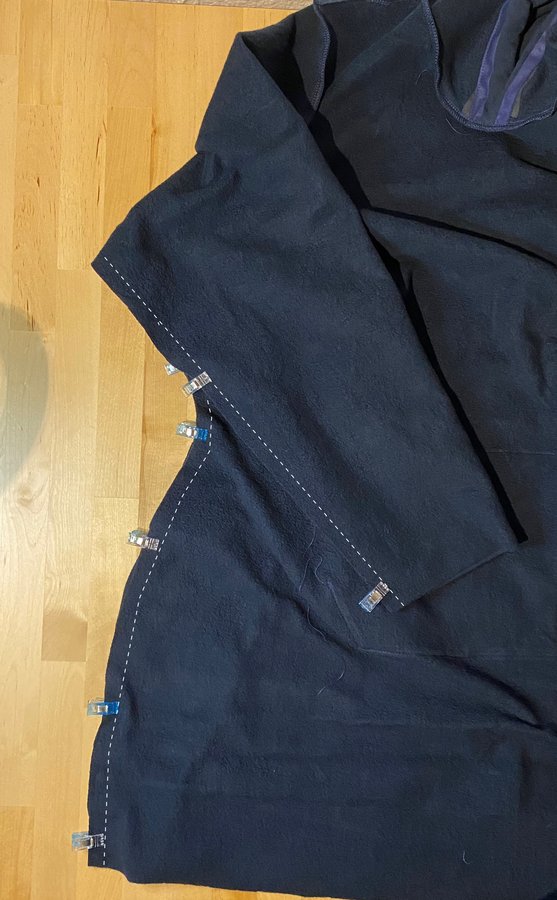
All that's missing are the cuffs!
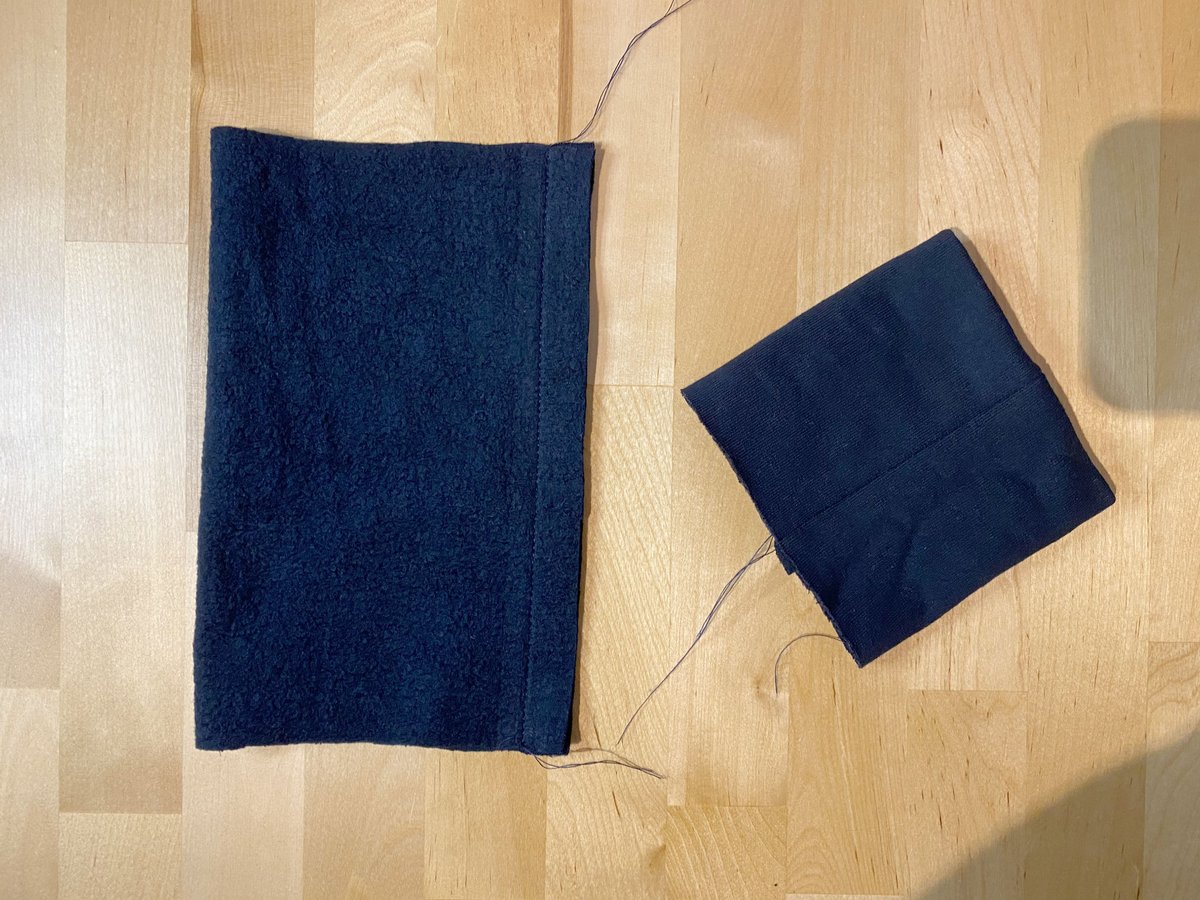
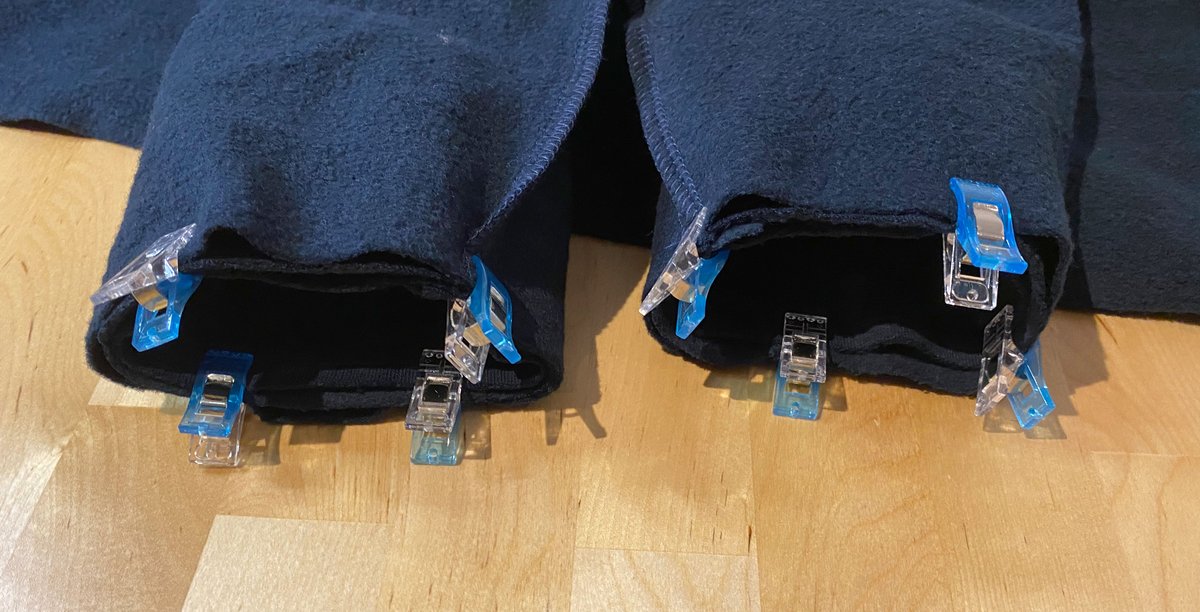
The two sleeve cuffs are folded right sides together, sewn together at the short sides and then folded lengthwise.
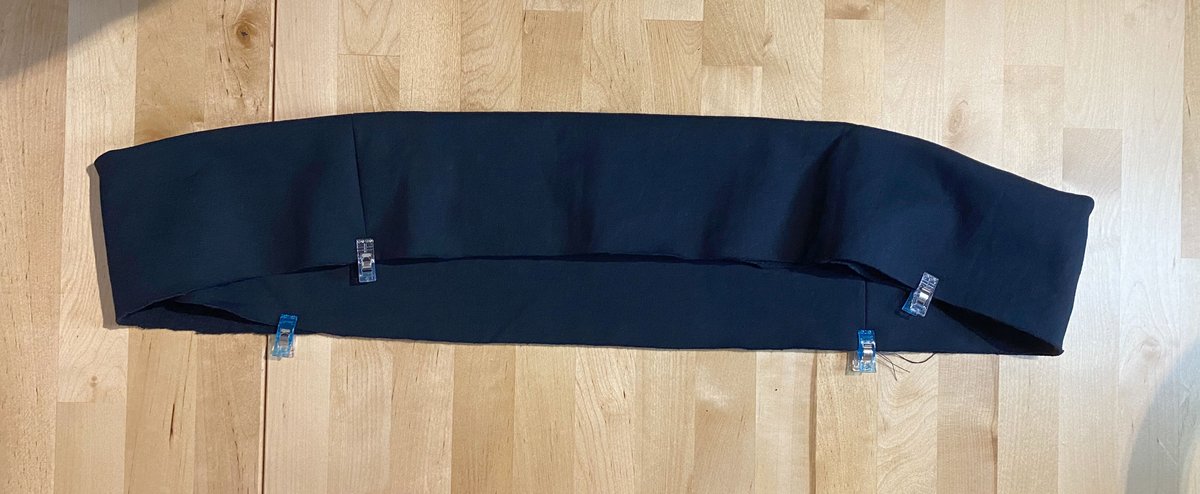
The waistband consists of two parts, which differ depending on the individual measurements. Mark which belongs to the front and which to the back and sew the two pieces together at the short sides. The waistband is then also folded lengthways.
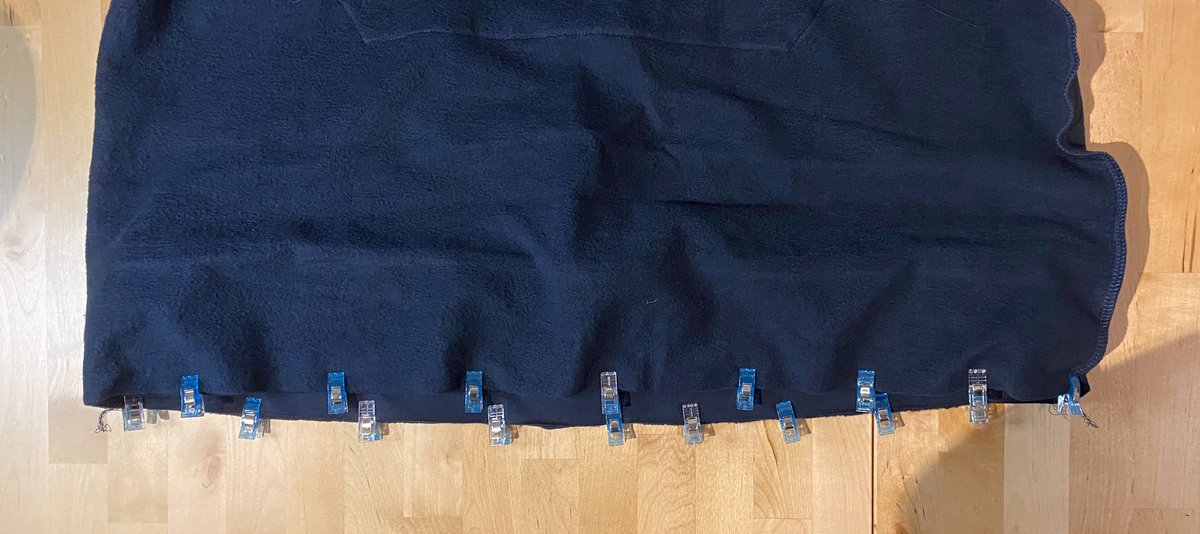
Pin the three cuffs to the hoodie and sew them in place with an elasticated seam.
Tip: You can sew along the inside of the sleeve for the cuffs, this is easier.